
The Downtown Marketplace
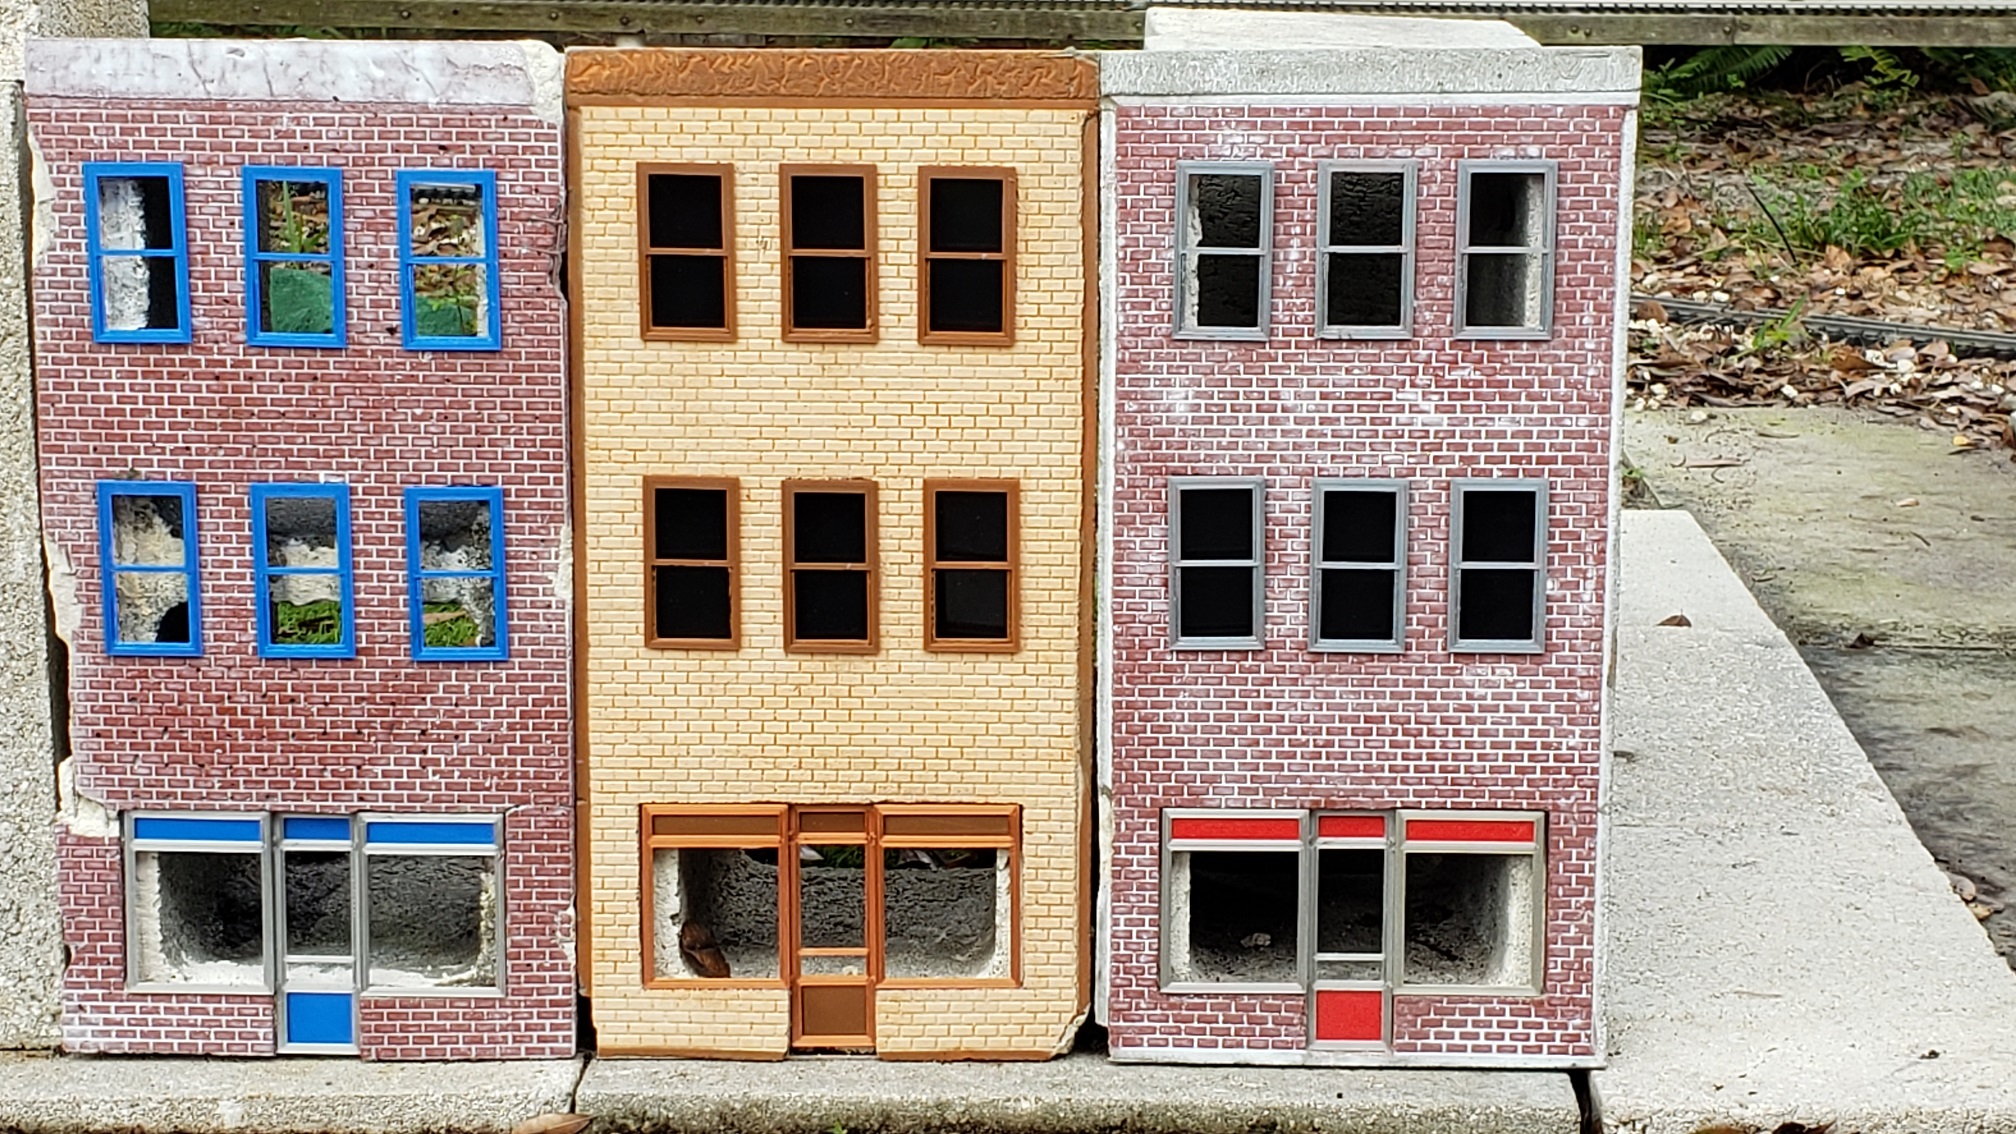
We started with the downtown marketplace, a set of three story apartment buildings, modelled after some HO kits assembled years ago. These castings are based on using thin plastic "pattern sheets" as the basis of building up the mold. The actual base and any insets are ¾" thick foam insulation. This process was developed by the folks at Stoneworks.
We started buying up a variety of pattern sheets, both from Stoneworks and other sources due to limited stock. This method works great when the entire face of the casting is the same pattern. Openings, like doors and windows, are made using appropriately sized pieces of the foam. These insets are pinned in place using "T-pins", pushed through the reusable plastic pattern sheet and into the base foam.
While those pin holes in the plastic sheets aren't "self-healing", they're small enough to be invisible in the casting. But before we can cast, some reinforcement is necessary, cut from ¼" or ½" wire mesh to fit the mold and insets. We use WD-40 as a mold release agent, sprayed to coat the mold before pouring the casting.
The casting material is concrete patch, mixed to a thin, pancake batter consistency. Once poured, the mold is vibrated to remove any trapped air bubbles using a jigsaw or palm sander. Found out the hard way on our first casting, the longer, the better. Worry more about the tiny air bubbles than those pin holes! The casting is then left to cure at least 24 hours.


Releasing the casting from the mold is straightforward, starting with removing all the T-pins, insets, and dams along the edges. The casting is still "green", so it takes a soft touch to keep from crumbling the edges. The casting needs a few more days to cure before it can be handled or painted. Then the casting is attached to a concrete block with more patch or mortar.
The window and door openings in the casting are fitted with 3D printed frames. Press fit that is. But after enough collisions with the pups, not so much. Nothing a few dabs of caulk won't fix. Overcoming other shortcomings of the design require more thought. Unfortunately the placement of those openings doesn't align with the openings in the concrete block very well.
We'll get to that shortly. The same folks that sell the pattern sheets also carry multi-piece window frame kits for that added touch of realism. But we need something more specialized than that, like glass display case windows and entry doors. We custom designed them, and window frames for the upper floors too, to fit our castings.


The center rib of the concrete block is obviously not in a good place, right in the middle of the second floor windows! Maybe not so obvious are the sides of the block encroaching on the display case windows as well as the outside windows. Note that the display case frame design accounts for this with view blocks on either side.
A concrete block isn't best choice for interior lighting either. There are three floors, but only two spaces in the block, meaning half the second floor windows are lit by the lower floor and the other half by the upper floor. Not only that, but once the back wall is attached, it blocks access to the interior altogether.
Good luck charging batteries! Short of drilling holes for wiring and keeping the lighting control outside the block, maybe cleverly hidden in a roof access hatch or some such believeable roof structure, the concrete block offers little advantage other than rigidity and resistance to demolition by the dogs.
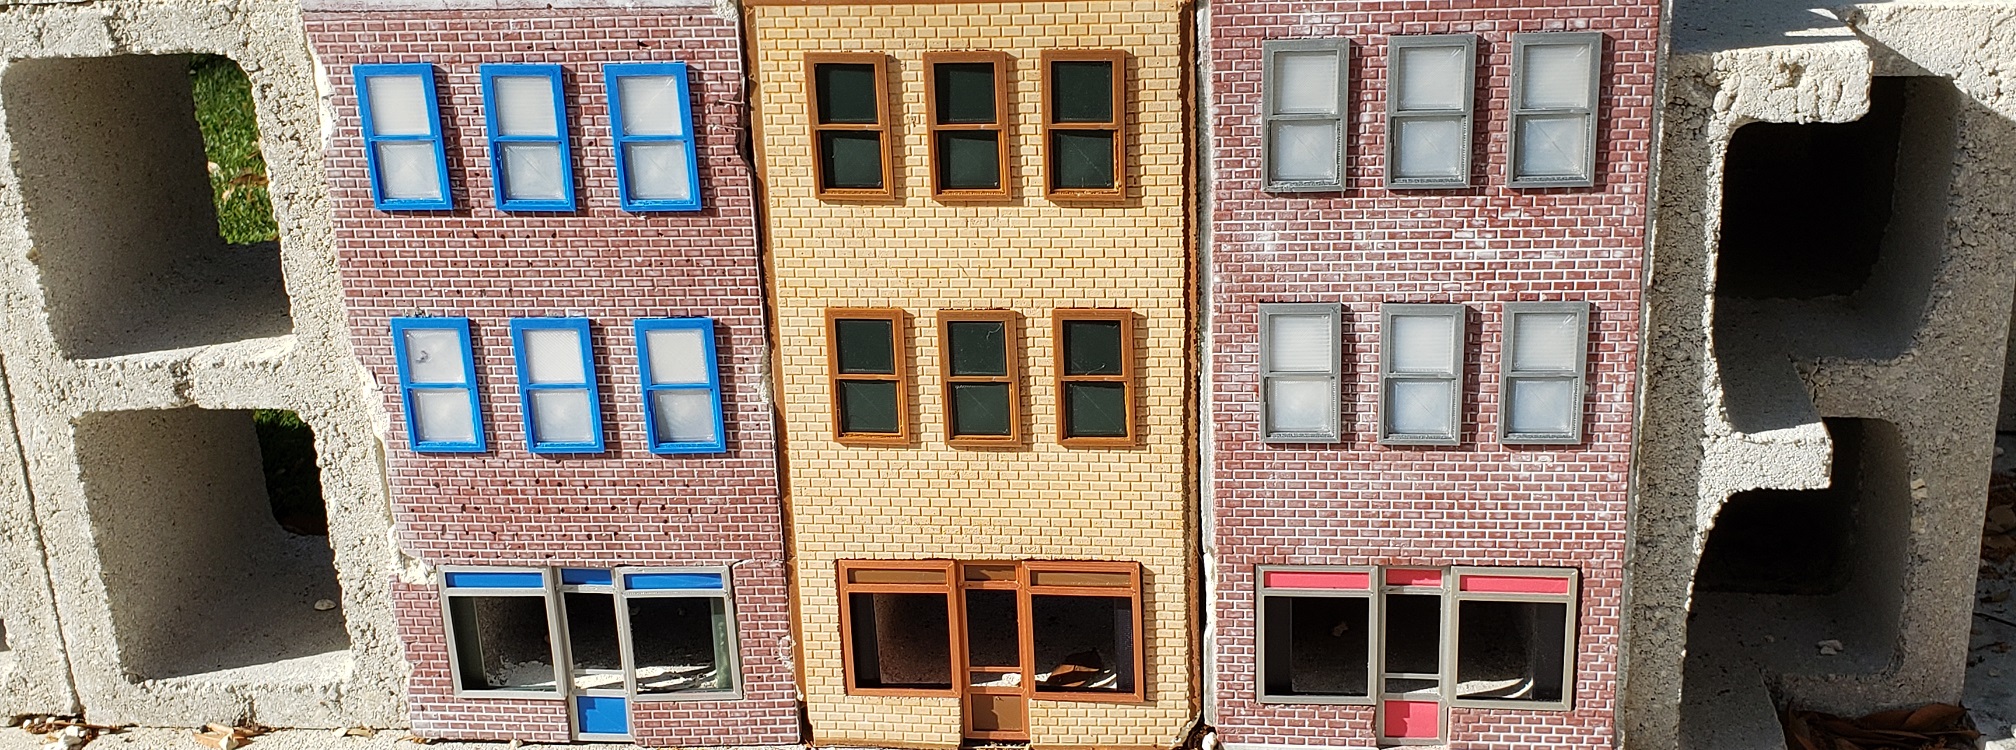
The window frames look good, but without some some of view block, unconvincing. First round is blanks cut to size from a sheet of black ABS plastic. Convincing from a distance, so better, but best would come later. With a 3D print from translucent green designed to look like venetian blinds in the top sash and regular glass in the bottom pane. Very convincing!

Time and the elements quickly took their toll on the three apartment buildings. The first casting didn't stay connected to the block very long and soon became a hazard to the pups with sharp pieces of the reinforcement wire mesh sticking out in all directions. Those last two castings are still there to this day.
If there are any lessons learned, it would be to make it easier to reinforce the walls without the need for a concrete block for rigidity. Perhaps future designs will incorporate casting concrete in place behind the walls and better defining the floor spaces behind those walls. Perhaps the roof and the floors themselves will be removeable to allow full access inside.
That didn't stop us from attempting other structures however. For example a company house like the one we stayed in on our visit to the Cass Scenic Railway. That's a-whole-nother story there... Working on moving our old, call it ancient website over to our modern format, but it takes time. Time we'd rather devote to adding to this site. Maybe a link to it soon?
We leveraged the work done for lighting the passenger cars to haunt the downtown, transforming it into the Halloween Ghost Town. They all had our next generation
lighting controller, with the Lightning effect we added just for the Halloween Ghost Town. Enjoy the next step in our lighting controller evolution...
The Halloween Ghost Town!
See More...
We invite you to enjoy our Halloween Ghost Town on the Barkyard YouTube channel if you're so inclined. It gives much more detail than we could possibly fit on a
web page. Even our Barkyard Blog posts can't capture all the details the videos do.
View Now...